Configuring Multiple Screenshots
Starting with CompuCell3d version 3.7.9 users have an option to save multiple screenshots directly from simulation running in GUI or GUI-less mode. Keep in mind that there sia already another way of producing simulation screenshots that requires users to first save complete snapshots (VTK-files) and then replaying them in the player and at that time users would take screenshots.
The feature we present here is a very straightforward way to generate multiple screenshots with, literally, few clicks.
The process is very simple - you open up a simulation in the Player and use “camera button” on lattice configurations you want to save. In doing so CompuCell3D will generate .json screenshot description file that will be saved with along the simulation code som that from now on every run of the simulation will generate the same set of screenshots. Obviously we can delete this file if we no longer wish to generate the screenshots.
Let’s review all the steps necessary to configure multiple screenshots. First we need to enable screenshot output from the configuration page:

Fig 1. Enable screenshot output - check box next to Save image every Nth MCS and choose screenshot output frequency
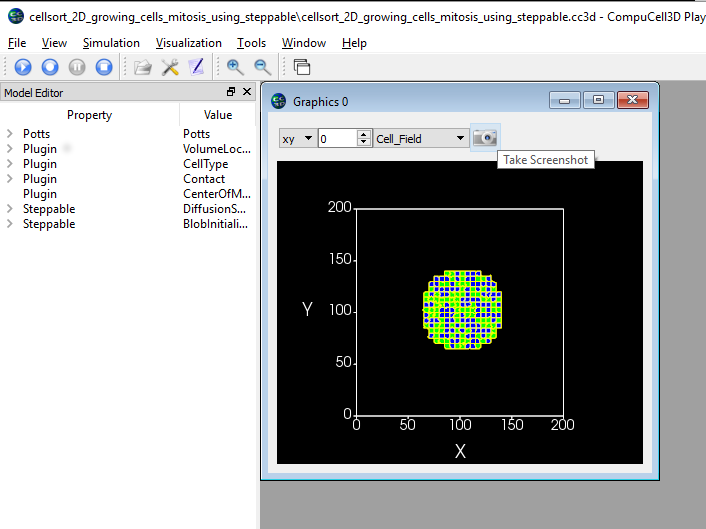
Fig 2. Open up simulation and start running it. Press Pause and click camera button (the button next to
Take screenshot tool-tip) on the graphics configuration you would like to save.
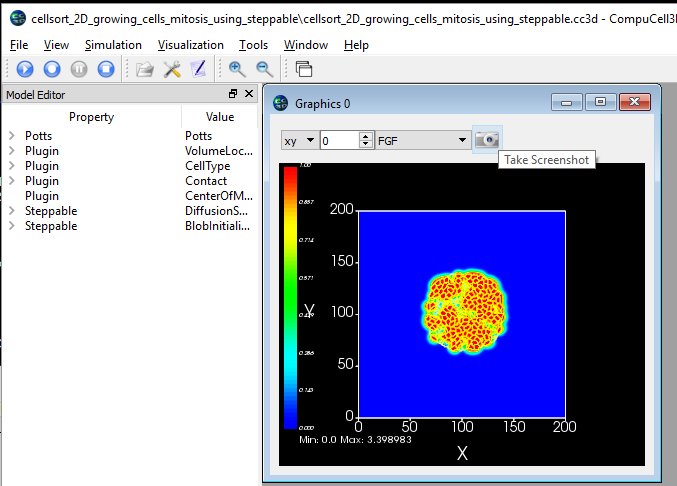
Fig 3. Repeat the sam process on other graphics configurations you would like to output as screenshots. Here we are adding screenshots for FGF field and for the cell field in 3D. See pictures above
The screenshot configuration data folder is stored along the simulation code in the original .cc3d project location:
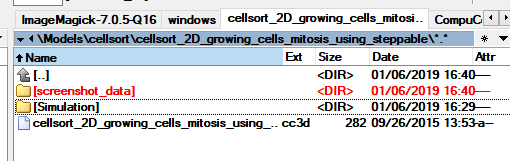
Fig 4. When you click camera button , CC3D will store screenshot configuration data in the screenshot data folder
and it will become integral part od .cc3d project. Every time you run a simulation screenshots described there will
be output to the CC3DWorkspace folder - unless you disable taking of the screenshots via configuration dialog or by removing
the screenshot_data folder
The screenshots are written in the CC3DWorkspace folder. Simpy go the the subfolder of the CC3DWorkspace directory
and search for folders with screenshots. In our case there are 3 folders that have the screenshots we configured:
Cell_Field_CellField_2D_XY_0, Cell_Field_CellField_3D_0, FGF_ConField_2D_XY_0 - see figures below:

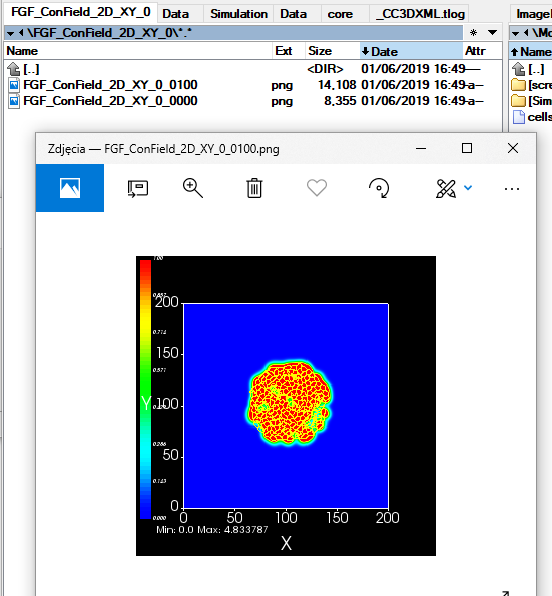
Fig 5. Screenshots are written to simulation output folder (i.e. subfolder of CC3DWorkspace)